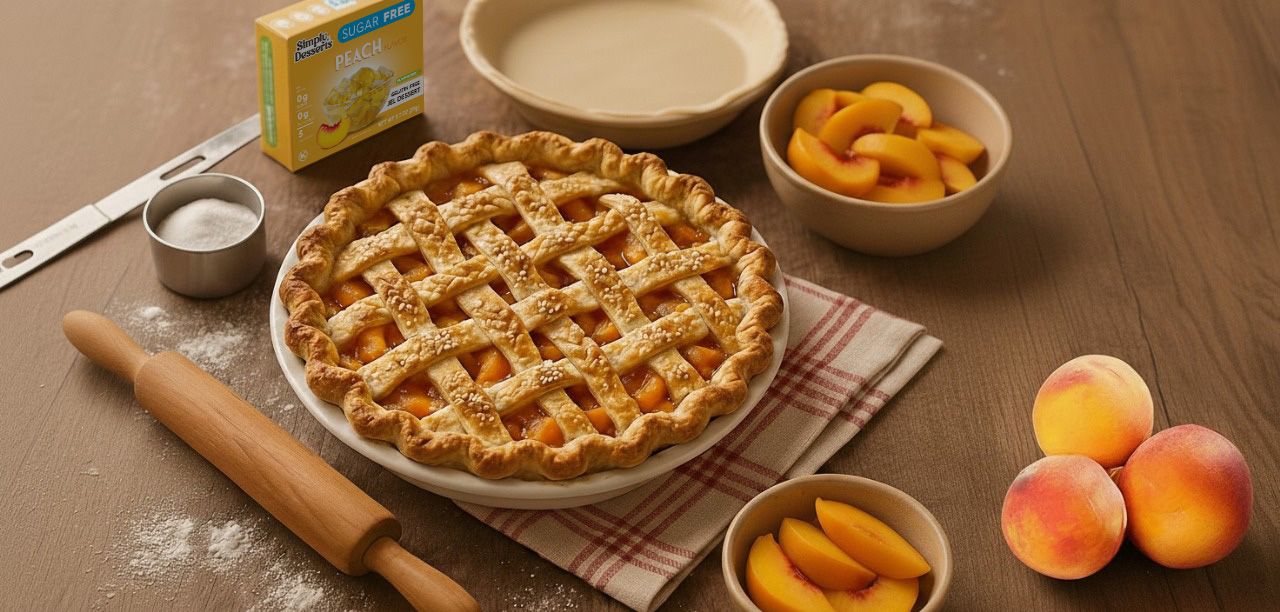
Short on time but craving that golden, slice-clean peach pie with peach pie filling? You’re in the right kitchen. Below you’ll find two quick paths to peach paradise:
- a classic semi-homemade baked pie using canned peach pie filling, and
- a no-bake filling (chill-set) version starring our Simply Desserts Peach Jel + Ceres Peach Juice for bright peach flavor and a lighter, sugar-free vibe. No peeling peaches. No stress. Maximum “mmm.”
These easy methods are inspired by the comforting tradition of old fashioned peach pie and the nostalgic flavors of grandma’s peach pie.
After all, who doesn’t want a shortcut to peach paradise? These methods let you enjoy fresh peach pie flavor any time—even outside of peach season.
Psst… we also have recipes for bite-size peach desserts! Don’t miss our Mini Peach Pies and Peach Pie Pastry Cups—perfect for parties and picnic plates. For even more ways to enjoy peaches, check out our other peach recipes.
Why You’ll Love These Methods
- Fast: 10 minutes of prep either way.
- Foolproof texture: Step-by-step cues for a crisp bottom and clean slices.
- Flexible: Classic baked OR no-bake with Peach Jel and Ceres Peach Juice.
- Great year-round: Canned filling and shelf-stable juice mean peach pie season is… always.
- Versatile: These methods work for any fruit pie, not just peach, and bring the comfort of homemade fruit pies to your table.
Peach Pie with Peach Pie Filling (Peach Jel + Ceres Peach Juice)
This one’s a chill-set beauty: we make a glossy peach gel on the stove with Simply Desserts Peach Jel and Ceres Peach Juice, fold in sliced peaches. It’s bright, peachy, and sugar-free—perfect for warm days or when you don’t want to turn the oven on.
Yield: 1 (9-inch) pie · Active: 10 minutes · Chill: 2–3 hours
Ingredients
- 2 boxes Simply Desserts Peach Jel (plant-based, sugar-free)
- 2 cans (15 oz) sliced peaches in juice, drained (reserve the juice)
- 3⅓ cups total liquid = all reserved peach juice + Ceres Peach Juice (top up to 3⅓ cups; use 100% Ceres for max flavor)
- Optional: 1 tbsp lemon juice, ½ tsp vanilla, pinch cinnamon
Method (Stovetop → Chill)
- Dissolve: In a cup, whisk the 2 Peach Jel packets into ⅔ cup cold liquid (from your 3⅓ cups total).
- Boil: Bring the remaining 2⅔ cups liquid (reserved peach juice + Ceres Peach Juice) to a full boil.
- Activate & cool: Off heat, whisk in the dissolved Jel until clear. Cool 5–10 minutes until syrupy.
- Fold & fill: Fold in the drained peach slices.
- Chill to set: Refrigerate 2–3 hours (or until firm). Note: Peach Jel is designed for chill-set desserts—don’t re-bake after setting.
How to Make Peach Pie with Peach Pie Filling (Classic Baked)
Yield: 1 (9-inch) pie, about 8 slices
Active time: 10 minutes · Total: ~1 hour 5 minutes + cooling
Ingredients
- 2 refrigerated pie crusts (bottom + lattice or full top)
- See our Peach Pie filling recipe above for making the filling. Skip step 5, Chill to Set.
- 1 tbsp lemon juice
- 1 tsp vanilla extract
- ¾ tsp ground cinnamon, pinch nutmeg
- 1–2 tsp cornstarch (only if your filling seems loose)
- 1 egg + 1 tbsp water (egg wash)
- Coarse sugar for sprinkling
Step-by-Step
- Preheat to 425°F (220°C). Set a sheet pan on the lowest rack to preheat—this helps crisp the bottom crust.
- Boost the filling: In a bowl, stir the peach pie filling with lemon, vanilla, cinnamon, and nutmeg. If it looks runny, whisk cornstarch into 1 tbsp juice and fold in.
- Assemble: Line a 9-inch pie plate with the bottom crust. Add filling. Top with a lattice or full crust; crimp edges. Brush with egg wash and sprinkle sugar.
- Bake: Place the pie on the preheated sheet pan and bake 20 minutes. Reduce to 375°F (190°C) and bake 25–35 minutes, until the top is deep golden and the filling bubbles in the center. Shield edges if browning too fast.
- Cool: Let the pie cool at least 3 hours so the filling sets for clean slices. The filling will appear runny immediately after baking, but it should set properly after cooling for several hours.
Pro Tips to Keep Peach Pie with Peach Pie Filling from Getting Runny
- Heat cue matters: Don’t pull the pie until you see bubbling in the center—that’s the starch activating.
- Crisp bottom insurance: Keep dough cold, bake on a preheated sheet pan, and consider brushing the bottom crust with egg white before filling.
- Slice-clean strategy: Cool completely; slice with a sharp, thin knife.
Variations & Serving Ideas
- Extra-fruit: Add an extra cup of sliced peaches for a heartier filling.
- Parfait cups: Spoon the warm peach gel + fruit into clear cups, chill, and top with whipped cream.
- Peaches & cream pie: Spread a thin sweetened cream-cheese layer in the crust, then add the jelled peach filling.
No-Bake (Chill-Set) Peach Pie with Peach Pie Filling — 0 oven time
Option A: Graham Cracker Crust (no-bake)
- 2 cups (200 g) graham cracker crumbs
- 8 tbsp (113 g) unsalted butter, melted
- 2 tbsp sugar (optional) + pinch salt
Mix, press firmly into a 9-inch pie dish (bottom + sides), chill 20–30 min (or freeze 10 min) until firm.
Option B: Almond-Flour Crust (no-bake, low-carb)
- 2 cups (200 g) fine almond flour
- 5 tbsp (70 g) melted butter
- 2–3 tbsp powdered sweetener, pinch salt, ½ tsp vanilla (optional)
Mix, press into pan, chill 30 min (or freeze 10 min) until firm.
Filling (same as your Peach Jel + Ceres method)
- Whisk 2 boxes Peach Jel into ⅔ cup cold liquid (use Ceres Peach Juice or reserved peach juice).
- Boil the remaining 2⅔ cups liquid (reserved peach juice + Ceres Peach Juice).
- Off heat, whisk in dissolved Jel; cool 5–10 min until syrupy.
- Fold in 2 cans (15 oz) drained peach slices; pour into chilled crust.
- Chill 2–3 hours until set; serve cold.
Product Spotlight
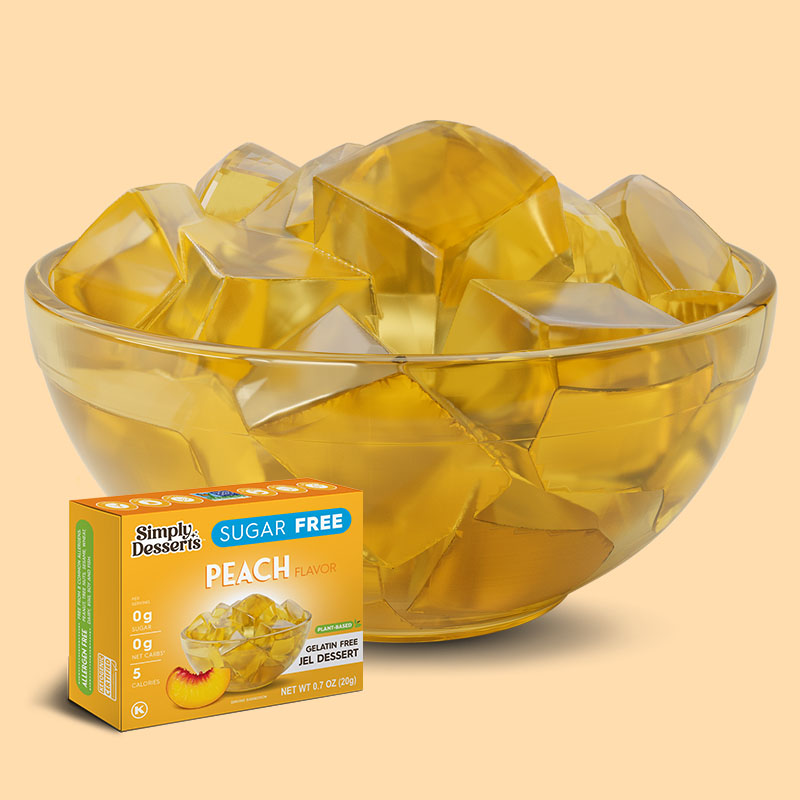
Peach Jel (Sugar-Free, Plant-Based)
A versatile jel that sets as it cools—great for no-bake pies, parfaits, and layered desserts. Perfect for a peach pie filling.
Try it: Shop Peach Jel →
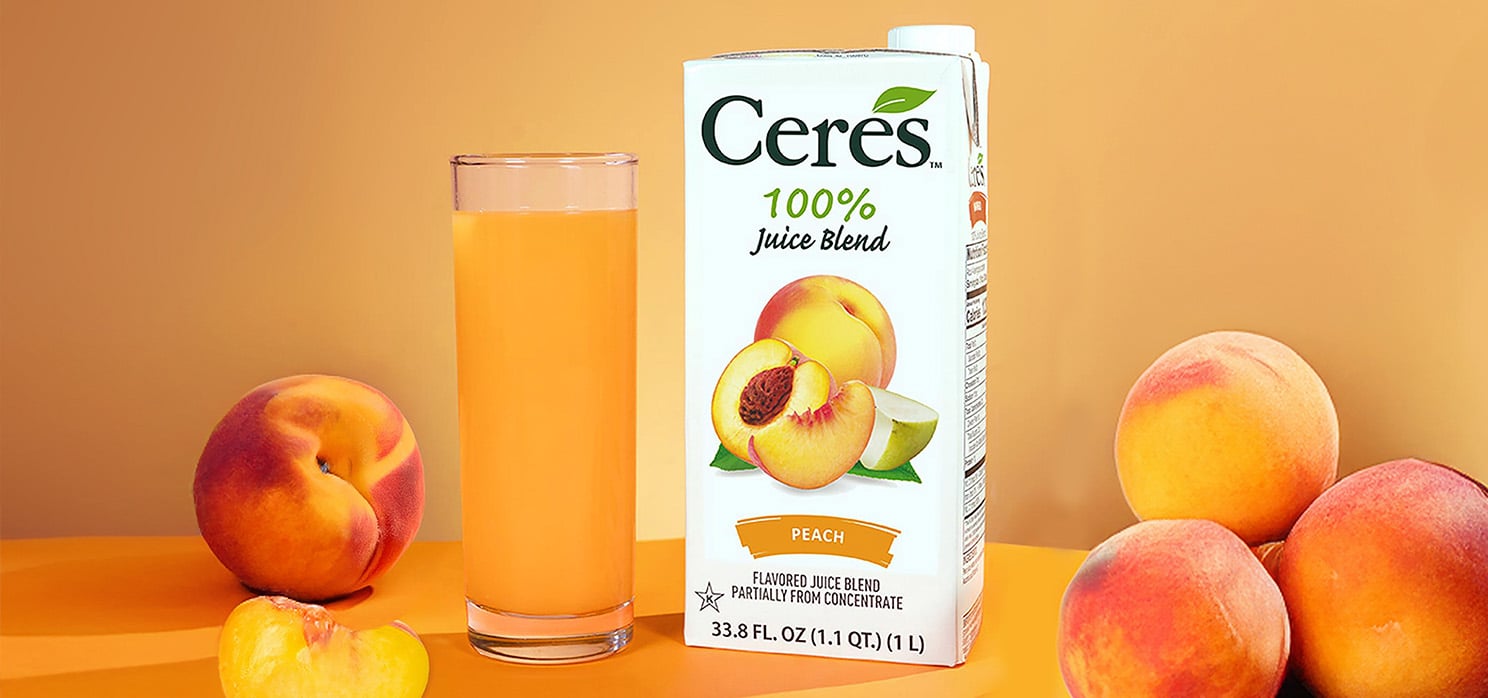
Ceres Peach Juice (100% Fruit Juice)
Adds clean, vibrant peach flavor to no-bake fillings, granitas, smoothies, and mocktails.
Try it: Ceres Peach Juice →
Choosing the Best Peaches
The secret to a truly delicious peach pie starts with choosing the right peaches for your pie filling. If you’re making a classic homemade peach pie recipe, fresh peaches are always a top pick—look for ripe peaches that are slightly firm, fragrant, and free from bruises or soft spots. Their natural sweetness and juicy texture create a vibrant, flavorful pie filling that’s hard to beat.
When fresh peaches aren’t in season, frozen peaches are a fantastic alternative. Just thaw them completely and pat dry with paper towels before adding to your peach pie filling to avoid excess moisture in your pie. Canned peaches are another convenient option, especially for a quick and easy peach pie. For best results, choose canned peaches packed in juice or light syrup, and drain them well to keep your pie from becoming too sweet or runny.
No matter which type you use—fresh, frozen, or canned—your choice will influence the flavor and texture of your peach pie. Experiment with different varieties to find your favorite, and enjoy homemade peach pie any time of year!
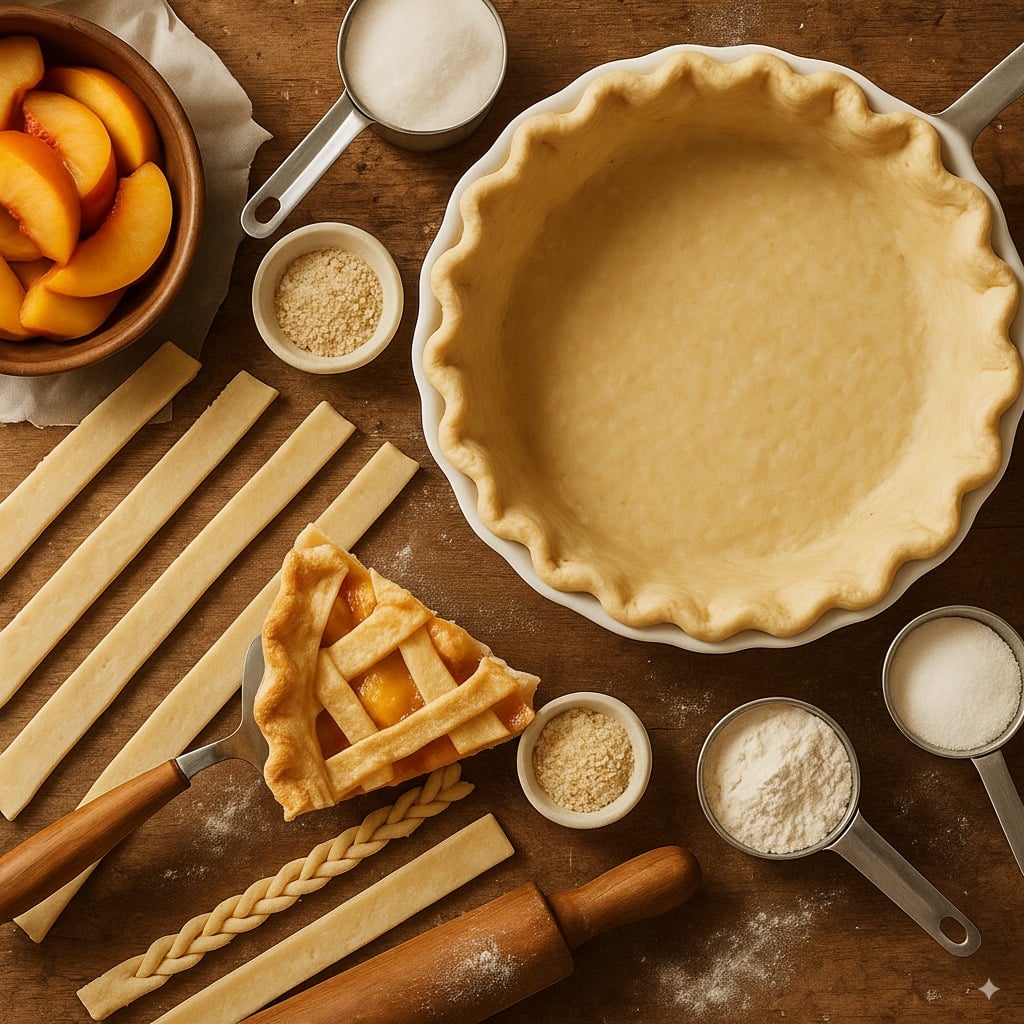
Making the Pie Crust
A great peach pie deserves a great pie crust! Whether you opt for a homemade pie crust or a store-bought version, the crust is what gives your peach pie that irresistible, flaky bite. For a homemade touch, combine flour, cold butter, and ice water to make your own pie dough—just remember to keep everything cold and handle the dough gently for the flakiest results.
If you love the look of a classic lattice crust, roll your pie dough to about 1/8 inch thick and cut it into strips to weave over your peach filling. Not only does this add a beautiful finish, but it also lets the peach juices bubble up and caramelize. To prevent the edges from over-browning, use a pie crust shield or a strip of aluminum foil around the rim during baking.
A homemade pie crust brings out the best in your peach pie, perfectly complementing the sweet, tangy peach filling. But if you’re short on time, a quality store-bought crust will still deliver a delicious dessert!
Serving and Storing the Pie
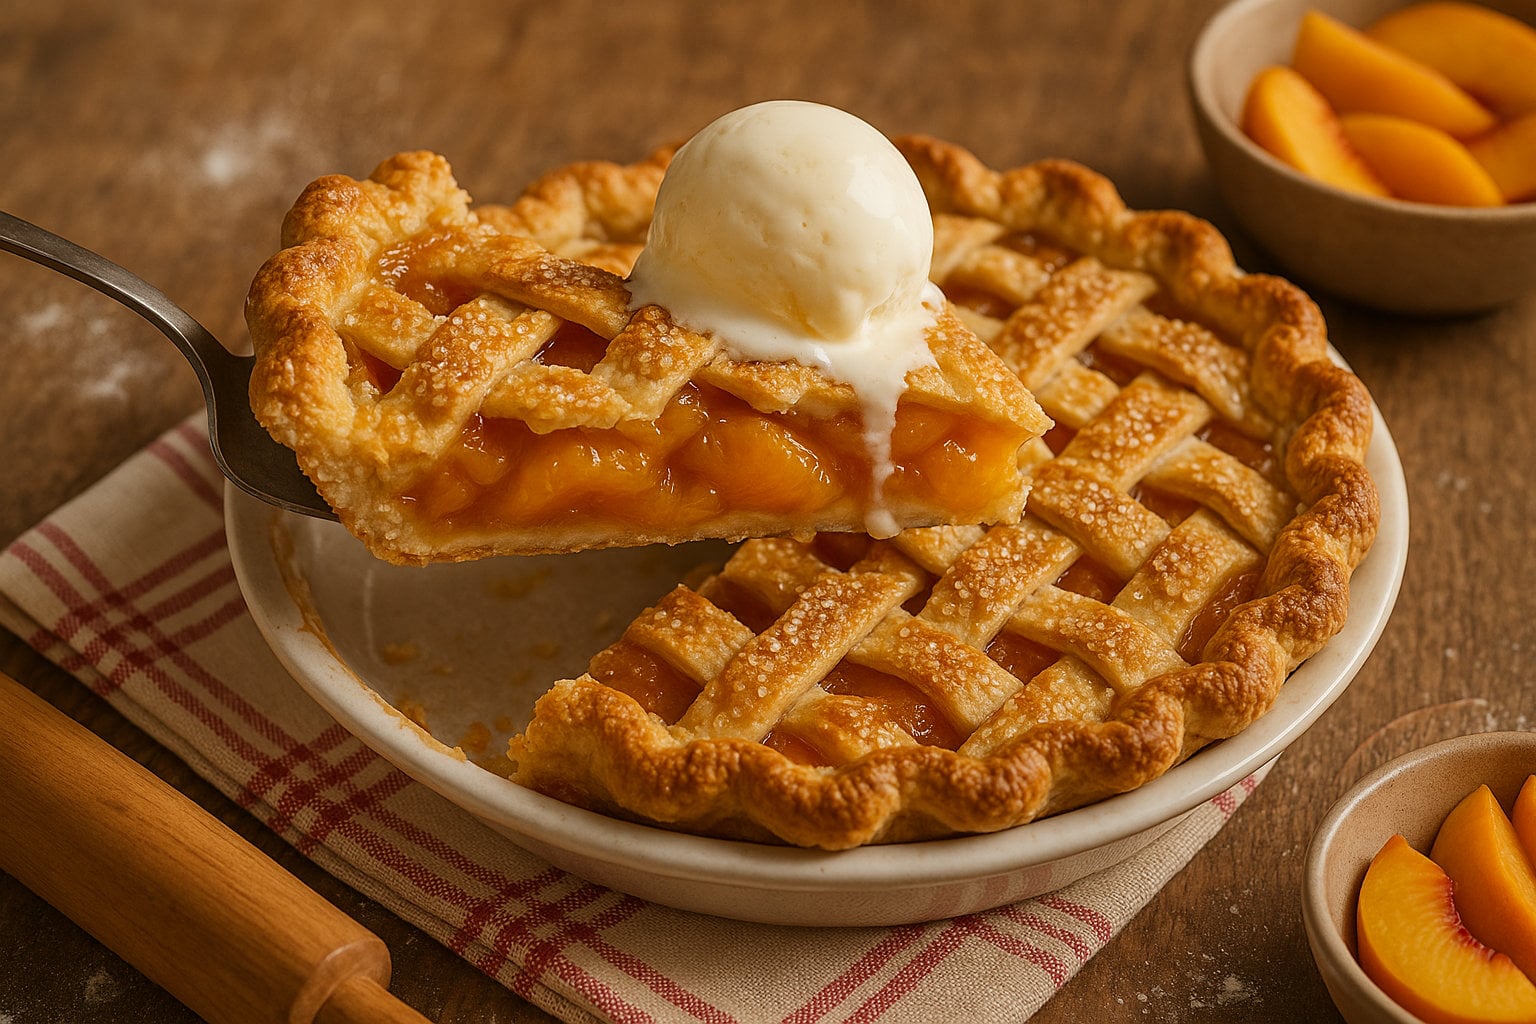
There’s nothing quite like enjoying a warm slice of peach pie topped with a scoop of vanilla ice cream. For the best flavor and texture, let your peach pie cool completely on a wire rack before slicing—this helps the filling set and makes for picture-perfect slices.
To store leftover peach pie, cover it loosely with plastic wrap or aluminum foil once it’s cooled completely. You can keep it at room temperature for up to two days, or refrigerate for up to four days to maintain freshness. If you want to freeze your pie for later, wrap it tightly in plastic wrap and then in aluminum foil to prevent freezer burn. Peach pie can be frozen for up to six months.
When you’re ready to enjoy your frozen pie, thaw it overnight in the refrigerator and reheat in a 350°F oven for 20-30 minutes, until the crust is golden and the filling is warmed through. Serve with a generous scoop of vanilla ice cream for a classic treat!
Tips and Variations
For the perfect peach pie every time, try these tips and creative twists! To achieve a beautiful lattice crust, use a sharp knife or pastry cutter to slice your pie dough into even strips, then weave them over the top of your pie for a classic look. To keep your pie filling from turning runny, mix granulated sugar, brown sugar, and a bit of cornstarch with your peaches—this helps thicken the juices as the pie bakes.
A splash of lemon juice in your peach filling brightens the flavor and balances the sweetness, while a sprinkle of cinnamon or a handful of chopped pecans adds a delicious twist. If you’re making a canned peach pie, use a 32 oz. can and adjust the sugar to taste for the perfect peach flavor.
Don’t be afraid to experiment with different types of peaches, like clingstone or freestone, to discover new flavors and textures. With these tips and variations, you’ll be baking the best peach pie recipe in no time—one that’s sure to become a family favorite!
Pro tips for Peach Pie Recipes
- Use chunks of peeled peaches instead of slices to maintain texture during baking.
- The pie should be baked until the crust is golden brown and the filling is bubbling and syrupy.
- The filling will appear runny immediately after baking, but it should set properly after cooling for several hours.
Pro tips for Peach Pie Filling
- If using frozen peaches, thaw them and blot them dry before mixing them into the filling.
- To avoid a soggy bottom crust, it’s essential to prevent excess moisture in the filling.
- The best fresh peaches for peach pie with peach pie filling are slightly firm yellow peaches with no bruises or soft spots.
- Cut your peaches into small chunks to prevent them from becoming mushy during baking.
Pro tips for Pie Crust Techniques
- Homemade pie crust is preferred for achieving a crispy, buttery texture.
- Using a mixture of granulated and coarse sugar on the top crust can enhance texture and flavor.
- Shortening in pie crust helps keep the crust tender and workable.
- A combination of butter and shortening yields an unbeatable texture in pie crust.
- Egg wash on the pie crust provides a glossy finish and promotes even browning.
- Brushing the pie crust with preserves adds flavor and can caramelize the crust.
Serving Suggestions for Peach Pie with Peach Pie Filling
- A scoop of vanilla ice cream or homemade whipped cream is essential when serving peach pie.
- Peach pie can be served warm the first or second day after baking for the best flavor and texture.
What is Shortening?
In baking, “shortening” means any fat that’s solid at room temperature (classic example: vegetable shortening like Crisco; also lard). It’s called “shortening” because it shortens (disrupts) gluten strands in flour, which keeps dough tender and easy to work.
Why shortening helps pie crust
- Tenderness: Shortening has no water. With less water in the dough, there’s less gluten, so the crust bakes up soft and tender rather than tough.
- Workability: It’s plastic (malleable) over a wide temperature range. That makes dough less sticky, more forgiving to roll, and great for clean crimped edges and lattice work—especially in warm kitchens.
- Shape-holding: It’s higher melting point helps the crust hold shape longer in the oven, reducing slumping.
Trade-offs (vs. butter or lard)
- Flavor: Shortening is neutral; butter adds more flavor.
- Flake: Butter (and lard) make excellent flaky layers thanks to water/steam (butter ~16–20% water). Shortening is ultra-tender, sometimes a touch less flaky on its own.
- Browning: Butter browns a bit better; all-shortening crusts can look paler.
Best-of-both tip
- Use a blend: 50/50 butter + shortening (or 2/3 butter, 1/3 shortening). You get butter’s flavor and browning plus shortening’s tenderness and easy handling
Practical notes
- Keep fats cold; pea-size bits = flake.
- Add just enough water for the dough to come together.
- In hot weather or for decorative edges, lean a little more on shortening.
- Modern vegetable shortenings are typically zero-trans; check the label if that matters.